Click on the code and choose download it, I prefer to download it with Zip.
Download GibmacOS
If you downloaded a zip file, you need to extract it.
Extract GibmacOS
Step 2. Download macOS Big Sur Latest Version
In
order to download the macOS Big Sur latest version, open the extracted
folder and open the GibmacOS.bat on Windows and GibmacOS.command on
macOS.
The first thing it will download is the mountainlion-lion
snowleopard-leopard.merged. I don’t know what it is but I can guess that
will list the macOS versions which GibmacOS can support to download.
Now you have to Choose a version of the macOS which you want to download. I will go with the macOS Big Sur latest version.
Download macOS Big Sur
Now you have to wait until the file is downloaded, it will take some time.
Downloading Process
Upon the completion it looks like this.
The same steps are inside the mac, here are the photos as a slideshow
Step 3. Build macOS Installer
As
I said before, you need to combine the downloaded files and make it an
Installer. To do that, open GibmacOS inside the mac and run the
BuildmacOSInstallApp.command.
Once
the App is opened drag the folder which contains the downloaded macOS.
The line which is highlighted is the location of macOS High Sierra.
Output Folder of GibmacOS
Now have a look that the those files are combined, open the directory which you specified, their will be the installer.
Installer Created using GibmacOS
Info about GibmacOS:
If
you are looking for the recovery images of the macOS, you run the
gibMacOS.command on mac and gibMacOS.bat on Windows. On the main menu
press r, it will re-scan, then it will list just the recovery images.
Download Recovery Images
Create Bootable USB of macOS Big Sur
To Create bootable USB of the macOS big Sur, you need to drag the created Installer inside the Application directory.
macOS Installer in Applications
Once
it is their attach the USB {at least 16 GB USB flash drive} and open
disk Utility. you can hold the Windows or command + space to open
spotlight, search for Disk Utility.
Disk Utility
Choose Show all devices, choose the USB Flash drive and then press erase and clean the USB with following settings.
General UDisk Media selected in the left hand column - USB pen drive to be erased Select 'Erase' button on top row. This will wipe all data from the drive so backup any files you want to keep.
The Erase options box appears, with the Scheme shown as Master Boot Record, this needs to be changed to GUID
From the Dropdown list select GUID Partition Map.
You can leave the disk name as 'Untitled' or change it to whatever name you want. Select Erase button.
Drive is unmounted, formatted as requested and then remounted.
When the process is completed select the Done button.
Partition USB DRIVE -- No need to partition. After format above EFI gets created default.
ls -l /Volumessudo /Applications/Install\ macOS\ Monterey.app/Contents/Resources/createinstallmedia --volume /Volumes/install_usbDOWNLOAD CLOVER BOOTLOADER
Download the standalone Clover Bootloader v5.0 r5137 or higher package installer from the official downloads section.
Install UEFI or Legacy Clover version using the USB (Install macOS Monterey beta) as the target.
Navigate to /EFI/CLOVER/kexts/Other/ and add VirtualSMC.kext & Lilu.kext
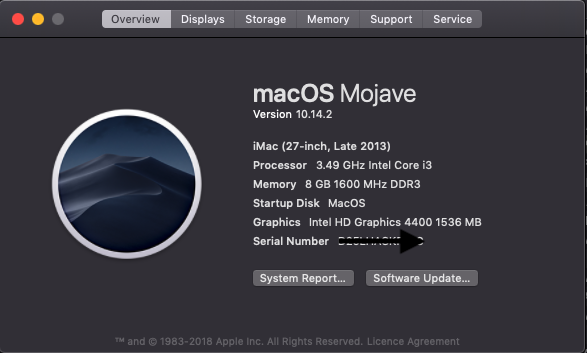
QE/CI graphics & Audio Fix FOR SIERRA/High Sierra/Mohave/Catalina INSTALLS 10.14.x, Core i3/i5, HD 4400 DESKTOP --------------------------------------------------------------------------- FOR MAC OS 11 Big Sur PLEASE VISIT THE UPDATED LINK BELOW: NEW & WORKING SOLUTION: https://hackintoshos.blogspot.com/2022/04/Monterey-Clover-HD4400-H81M-qe-ci.html --------------------------------------------------------------------------- IMP: Make sure you have hdmi monitor & your monitor is linked with PC with an actual HDMI cable (not HDTV cable) STEP 1 First install clover in EFI partition of your hard drive. Download Clover EFI bootloader Continue. Continue. Click "Change Install Location" to select where you want to install Clover. Click "Customize" to select what you want to install. Select your HDD Select "Install for UEFI motherboards", select a Theme and EFI drivers ...
Incorrect Graphics (2048MB is incorrect injection) EFI setup => https://drive.google.com/file/d/1i3KFKn5LuUhtYbR8wdEhWyUUJiUO24zI/view?usp=sharing Boot args during installation -> -v -lilubetaall keepsyms=1 alcid=1 -vsmccomp -igfxbeta if install hangs after choosing language, use safe mode (-v -x) to enter and do setup this time i used following kexts, theses fixes graphics as well Download Kexts: CLICK HERE The correct fix!!! Update on old solution: Correct graphics injection (1536MB) EFI setup => https://drive.google.com/file/d/1j5bbr7hoUnRUtTupUlggxHV7Fn7qUws6/view?usp=sharing Take a look at differences in config.plist in them https://dortania.github.io/OpenCore-Install-Guide/config-laptop.plist/haswell.html#deviceproperties on HD4400 0600260A Laptop/desktop AppleCpuPmCFGLock set it false Edit your config.plist file: ...


Comments
Post a Comment